My first own server
Jan 14, 2024 (2 years ago)
8 min read •
This is my first linux server using a virtual private server and Docker. This article is about my experience with my first server and how I set it up.
Table of contents
Why a server?
Until now I used to host all my projects on Vercel which was always a great experience. But I wanted to have more control over my projects and also wanted to host some other services like a Minecraft server or my own git server. So I decided to get a virtual private server and host some of my projects on it and just play with it.
Provider
There are a lot of providers out there and everyone has its own pros and cons. For me it was important to have a provider which is located in Germany and has a good price-performance ratio. I decided to go with Ionos because I already got my domain from them and the price-performance ratio is really good in my opinion. I got the VPS Linux M which has 2 vCores, 4 GB RAM and 160 GB SSD storage for 8€/month.
Operating System
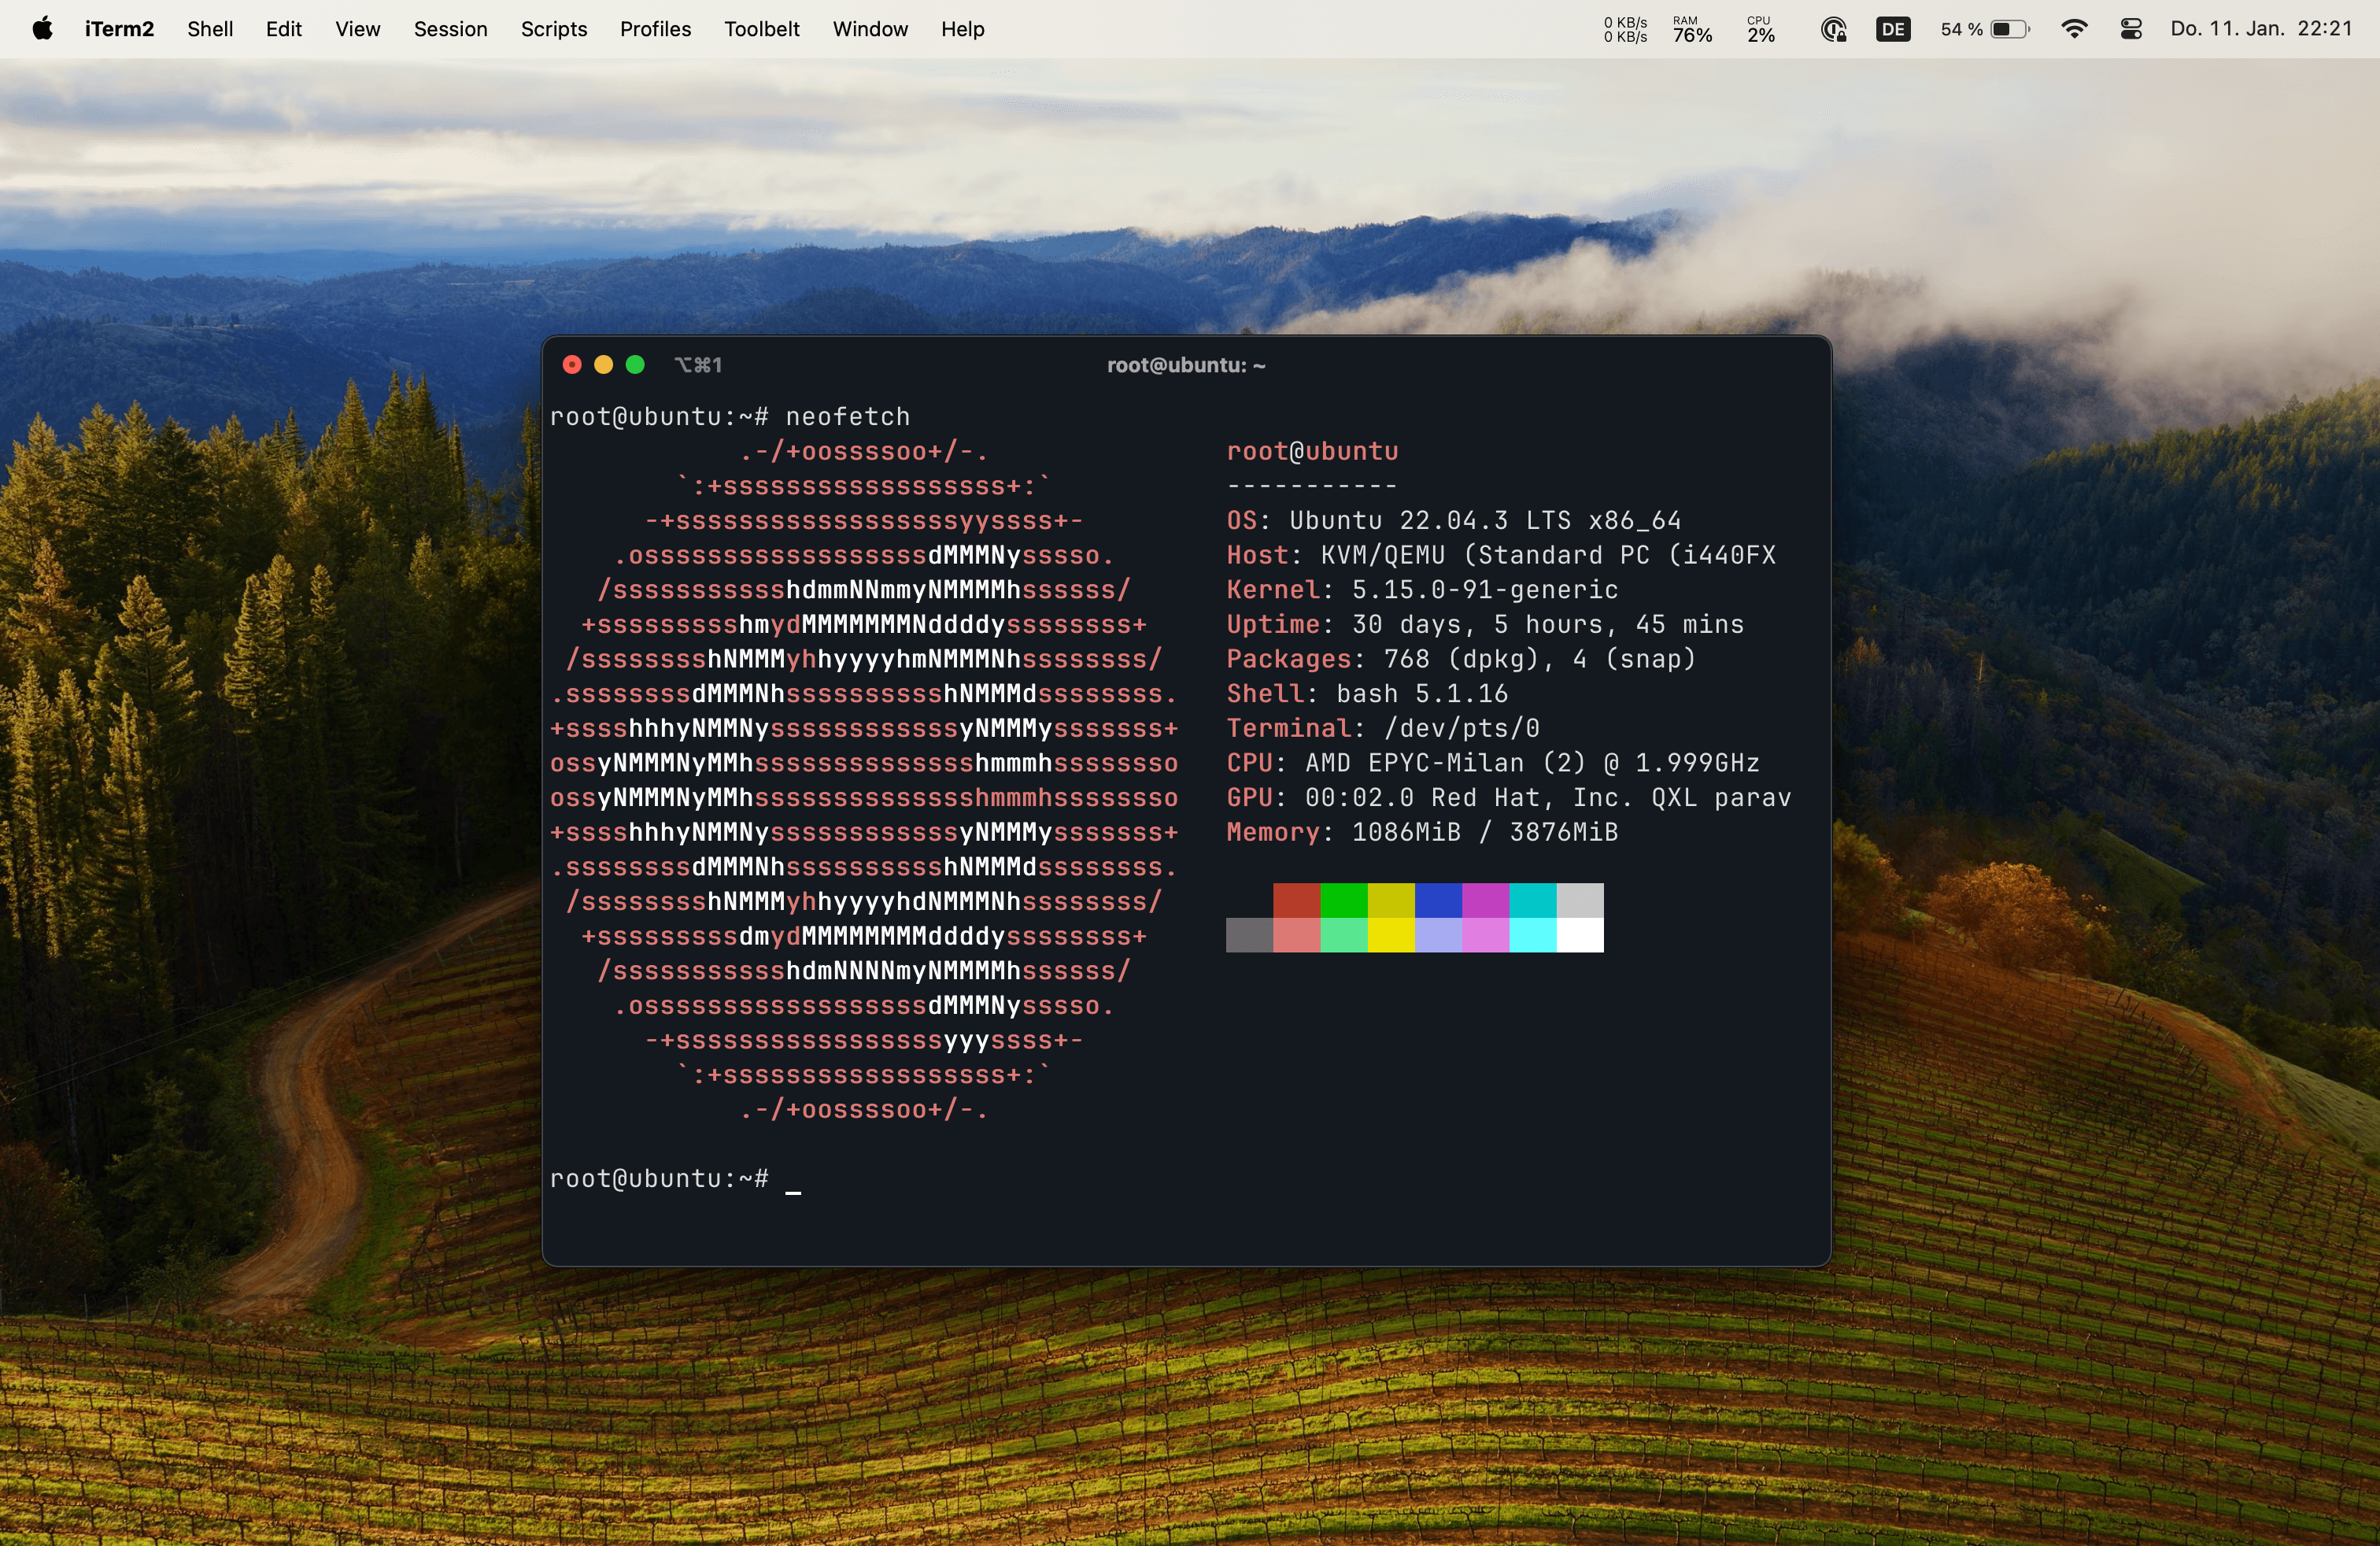
The pre-installed operating system is Ubuntu which is a good choice for me because I already have some experience with it. There are many self-hosting solutions which provide easy installation and management for different services but I wanted to do everything by myself to learn more about it. So I decided to use Docker to manage all my services and Docker Compose to manage the containers.
Configurations
To keep track of my configuration I got a private repository on GitHub where I store all my configuration files. I also use GitHub Actions to automatically deploy my configuration to the server when I push to the repository.
Security
One of the most important things is security. I want to keep my server as secure as possible and also want to keep track of what is happening on my server. One benefit of my provider is their firewall where I can configure which ports are open and which are not. I only opened the ports which are needed for my services.
SSH
I dont want to use a password to login to my server so I decided to use SSH keys. Also I changed the port of the SSH server to a random port to make it harder for attackers to find the SSH server.
# /etc/ssh/sshd_config
PasswordAuthentication no
Port 15729
StrictModes yes
MaxAuthTries 5
MaxSessions 3
With this ssh configuration I can make sure the ssh server is protected against most attacks.
CrowdSec
After protecting the ssh server I wanted to protect the rest of the server which is why I installed CrowdSec.
CrowdSec is an open-source, lightweight software that detects and blocks malicious actors from accessing your systems at various levels, using log analysis and threat patterns called scenarios.
I configured CrowdSec to read the logs of my nginx server and then use a bouncer to block malicious requests.
Services
Minecraft Server
The essential for every server. I dont think I have to mention why someone needs a Minecraft server. I can highly recommend trying to setup a Minecraft server by yourself if you arent familiar with Docker and want to learn it. It is a great way to learn how to use Docker and how to configure it.
Portainer
To manage all my containers I use Portainer which can also be installed as a Docker container. Its by far the easiest setup of all containers because you only have to start the container and then you can access the web interface.
# docker-compose.yml
services:
  portainer:
    image: portainer/portainer-ce:latest
    container_name: portainer
    restart: unless-stopped
    ports:
      - '9443:9443'
    volumes:
      - ./portainer-data:/data
      - /var/run/docker.sock:/var/run/docker.sock
Nginx
Nginx is the web server which brings everything together. The most complicated part was to configure the subdomains and the SSL certificates but after that it is just adding routes.
location /portainer/ {
        proxy_pass http://portainer:9000/;
        proxy_set_header Host $host;
        proxy_set_header X-Real-IP $remote_addr;
        proxy_set_header X-Forwarded-For $proxy_add_x_forwarded_for;
        proxy_set_header X-Forwarded-Proto $scheme;
}
Netdata
Netdata is a monitoring tool which provides metrics about the server. In my opinition this is a must have for every server because it provides a lot of information about the server usages and its services.
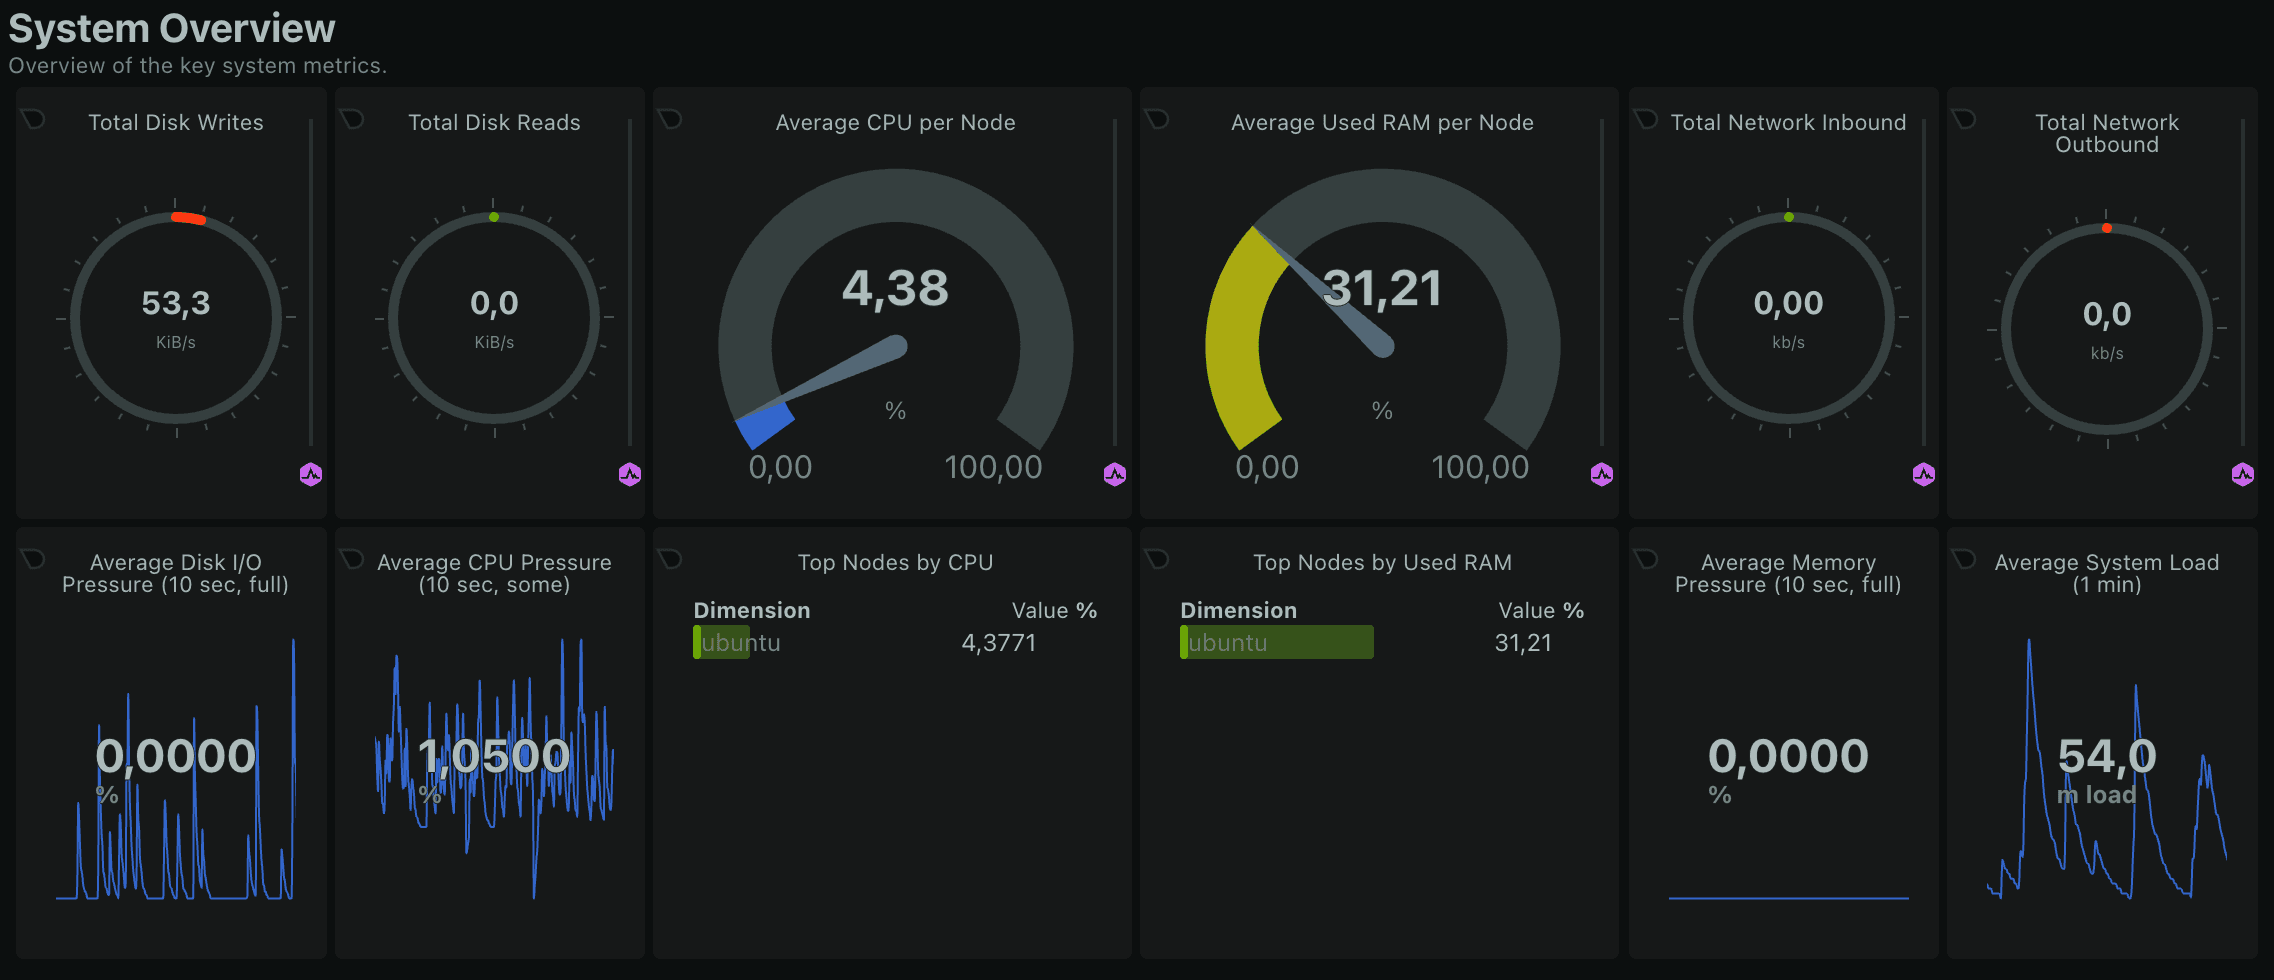
One big benefit of Netdata is the webhook notifications which can be used to send notifications to Discord, Email or Slack. I decided to create a discord server where I can get all kinds of notifications from my server. Whenever my server is unreachable I now get a nofication from netdata and can check what is happening.
Watchtower
Watchtower is a container which automatically updates all other container images. This is a great way to keep all containers up to date without having to do it manually. It also has the ability to send notifications to Discord which is great to keep track of the updates.
Gitea
Gitea is a self-hosted git service which is a great alternative to GitHub. I dont plan to move all my repositories to my own git server but I setup a mirror for all my repositories. This way I can still use GitHub but also have a backup of all my repositories on my own server.
It also has a built in container registry for different packages like npm, docker and more.
While setting up Gitea I initially used the same subdomain for everything and just added a route for each service. This worked fine until I wanted to use the container registry. Docker cant handle routes and only uses the subdomain to access the registry which is why I had to change the configuration.
I first added a new route for the container registry and then changed the configuration to use a subdomain for each service. This way I can have a clean configuration and also use the container registry.
Gitea Runner
The equivalent to GitHub Actions is the Gitea Actions which can be used to run jobs on the server. Actions require a runner which is a service that runs the jobs. I dont think I will use this feature a lot but I wanted to try it out and see how it works.
Docker Deploy API
The Docker Deploy API is a project by a friend of mine. It exposes an API which can be used to deploy and update Docker containers. This can be very useful if you want to deploy containers from a CI/CD pipeline or just want to deploy containers from a script.
Tools
In order to work with the server I needed some tools to make editing files easier.
Neovim
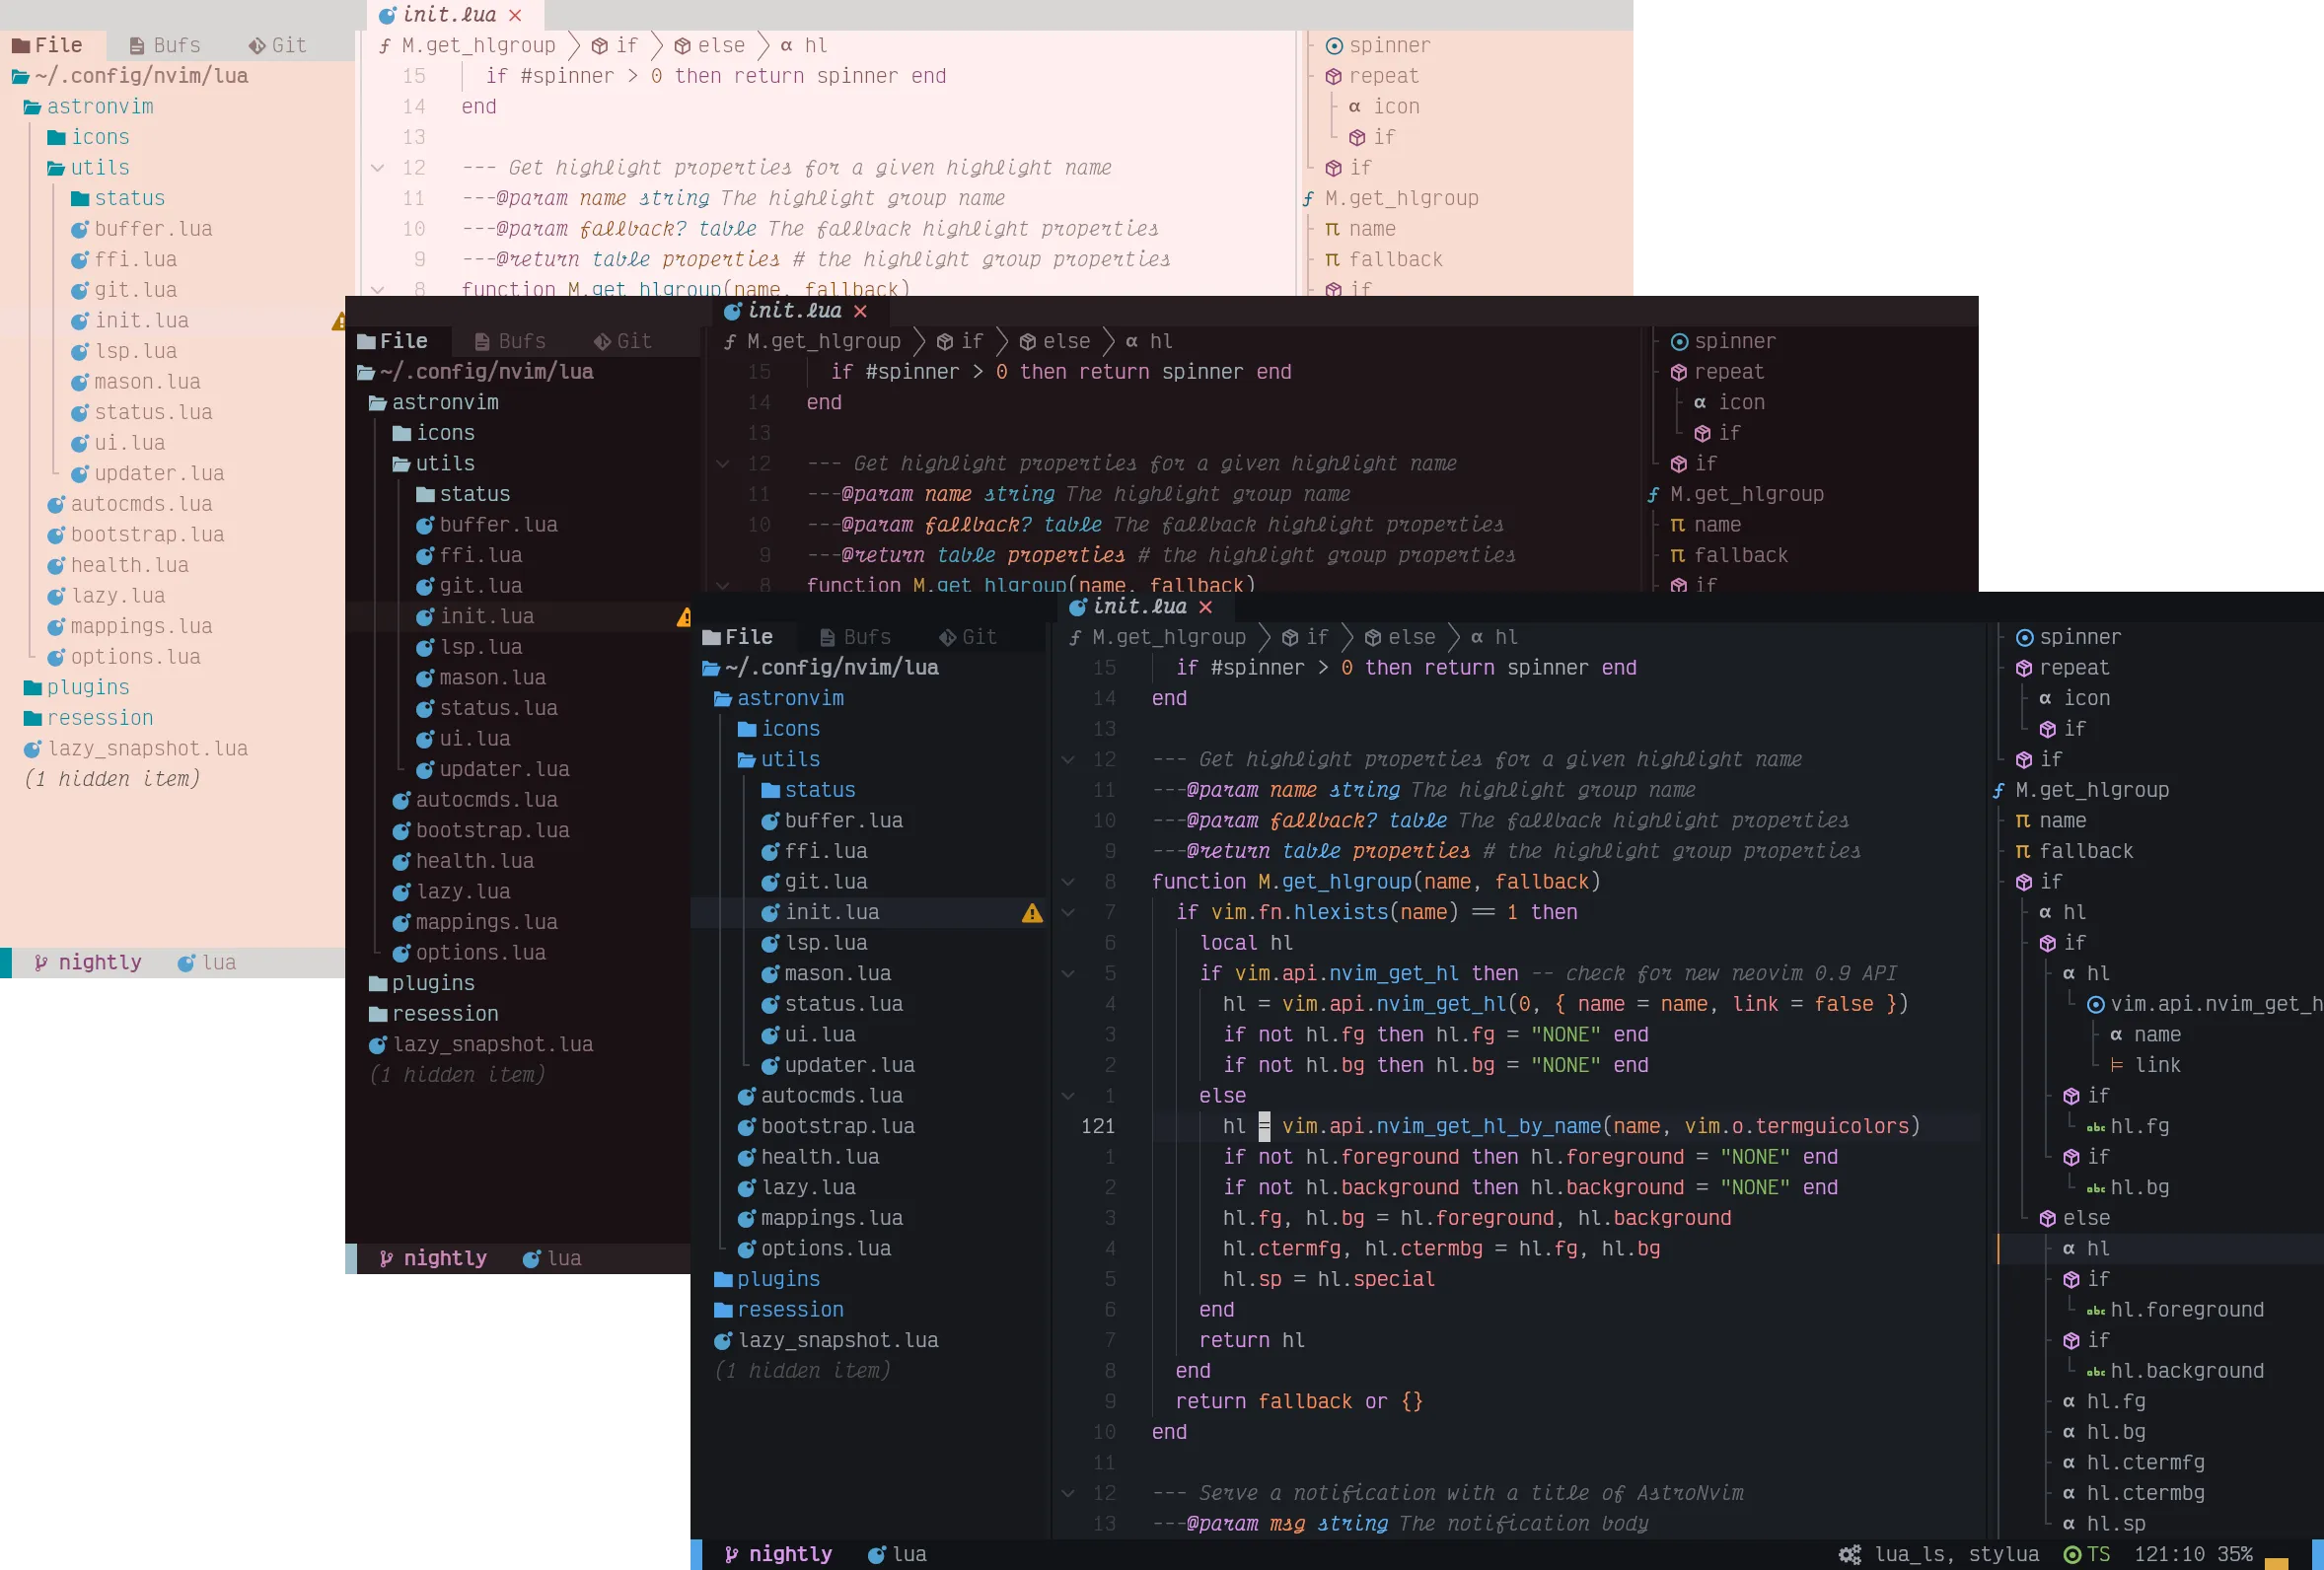
My second favorite editor after VS Code is Neovim. I use it for some my projects and also use it to edit files on the server. My favorite configuration for Neovim is AstroNvim because it has a lot of useful plugins and a great configuration to get started easily. I added my own configuration to it to make it even better.
Tmux
To do multiple things at once I use Tmux which is a terminal multiplexer. It allows me to split the terminal into multiple panes and also to create multiple sessions so I can edit some files and also run some commands at the same time.
Acme.sh
One of the most annoying things is to get a SSL certificate for a domain. Luckily there is Acme.sh which is a great tool to get SSL certificates for free. It also has support for my provider domains which makes it even easier to get a certificate.
To obtain a certificate I just have to run the following command:
acme.sh --issue --dns dns_ionos -d my-domain.com \
    --webroot nginx/html \
    --cert-file nginx/ssl/my-domain.com.crt \
    --key-file nginx/ssl/my-domain.com.key \
    --fullchain-file nginx/ssl/my-domain.com.fullchain.crt \
    --reloadcmd "docker restart nginx"
I also created a script which automatically renews the certificates every month so I dont have to worry about it ever again.
Backups
The last thing I wanted to setup is a backup solution to make sure I dont lose any data of my services. There are many options like Borg but luckily my provider already has a backup solution which I can use. It is a flex plan which means I pay for what I use and it already has an easy to install backup agent. After the setup I made a backup plan. This plan is a combination of incremental and full backups to ensure I can restore everything if needed whenever I need.
Conclusion
This was my first server and I learned a lot about Docker and Linux. Even though it is nothing useful for other people I still wanted to write about it to keep track of my progress and also to share my experience. All in all I am very happy with the server and I am looking forward to host more services on it.
I would love to hear your feedback about this article and also about my server. If you have any questions or feedback feel free to contact me on X/Twitter.