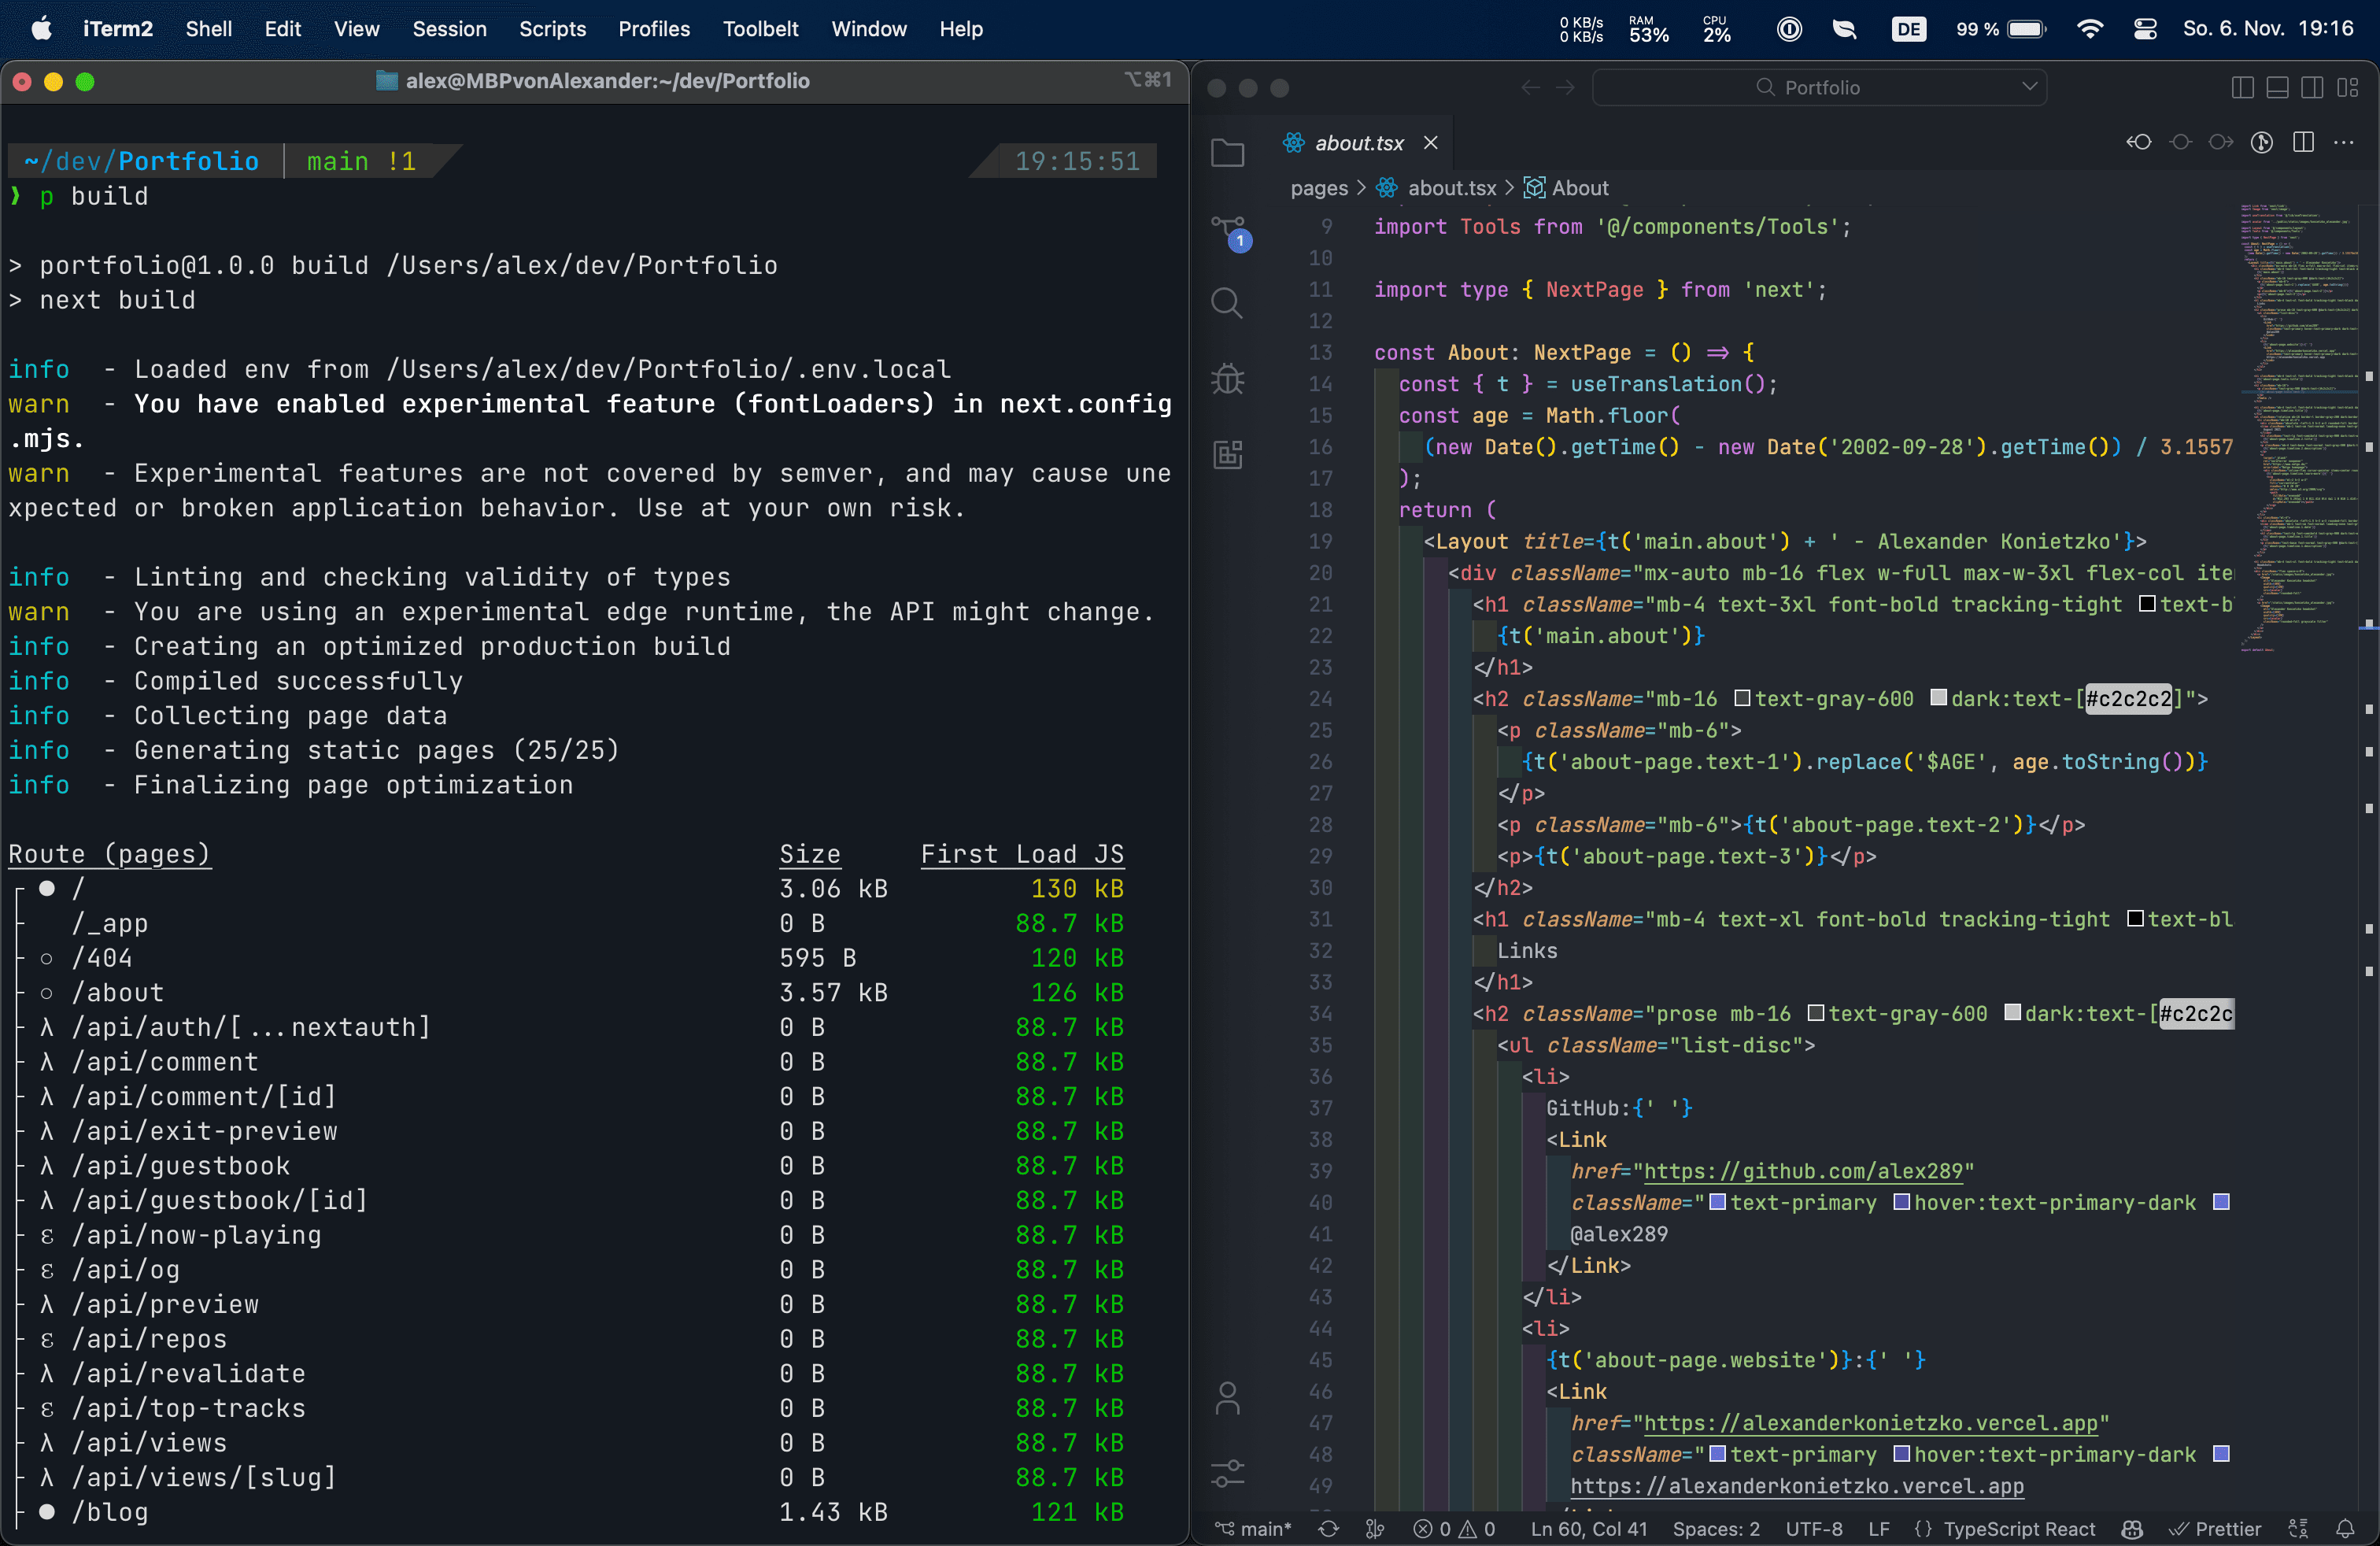
M1 MacBook Pro Dev Setup
Jan 8, 2023 (3 years ago)
3 min read •

I recently got a M1 MacBook Pro and wanted to share how I set it up for development.
Table of contents
Inspiration
Before setting my machin up and knowing what good apps are out there I checked out these tutorials. Make sure to check them out.
- macOS Setup by Thvu
- Setting up new M1 Pro MacBook Pro 14” by Andres Vidoza
- Setting up a Mac for Development by CodingGarden
Essentials
Before starting the actual setup please make sure your machine has the latest version and got all updates.
- Enable the firewall in the system settings! This is very important
- Install XCode
xcode-select --install
- Install the package manager Homebrew
/bin/bash -c "$(curl -fsSL https://raw.githubusercontent.com/Homebrew/install/HEAD/install.sh)"
- Install the essential environments and CLIs you need
brew install git node neovim
- I really recommend signing your git commits. Read here why and how to do it.
- Now its time to create a
~/codeor~/devfolder and clone all your project repos locally.
Apps & Programs
Install all apps and programs you need with brew. This is a list of all things I installed:
brew install --cask iterm2 visual-studio-code google-chrome notion spotify rectangle alt-tab devtoys postman stats 1password
- iTerm2 - Terminal emulator
- Visual Studio Code - Code editor
- Google Chrome - Browser for developing
- Notion - Tool for creating notes, docs and more
- Spotify - Music provider
- Rectangle - Window management tool for macOS
- Alt-Tab - Windows alt-tab on macOS
- Devtoys - Useful developer tools
- Postman - API building and testing platform
- Stats - System monitor in your menu bar
- Raycast - Better Spotlight
- 1Password - Password management
Terminal
This requires the zsh command line which is the default on MacBooks since 2019.
- Install Oh My Zsh
sh -c "$(curl -fsSL https://raw.githubusercontent.com/ohmyzsh/ohmyzsh/master/tools/install.sh)"
- Install the Powerlevel10k theme
git clone --depth=1 https://github.com/romkatv/powerlevel10k.git ${ZSH_CUSTOM:-$HOME/.oh-my-zsh/custom}/themes/powerlevel10k
- Install and set a nerd font of your choice
- Restart your terminal and configure Powerlevel10k
p10k configure
- Update your
~/.zshrcto your liking. I have an example of what you can do in my dotfiles repo.
Useful packages
Install all of these with
brew.
- bat - view file contents in your terminal
- exa - better ls
- neovim - terminal code editor. I use the AstroNvim configuration
- tmux - Terminal multiplexer
- zoxide - autojumper
The configuration and use of all of these can be seen in my dotfiles repo.
npm packages
- ESLint
- npm-check-updates
- pnpm
- prettier
- serve
- typescript
- yarn
- case-police
System configuration
- Show file name extensions by default
defaults write NSGlobalDomain AppleShowAllExtensions -bool true
- Show all file extensions
defaults write -g AppleShowAllExtensions -bool true
- Show path bar and status bar
defaults write com.apple.finder ShowPathbar -bool true
defaults write com.apple.finder ShowStatusBar -bool true
- Dont write DS_Store
defaults write com.apple.desktopservices DSDontWriteNetworkStores -bool true
defaults write com.apple.desktopservices DSDontWriteUSBStores -bool true
- Show all hidden files
defaults write com.apple.Finder AppleShowAllFiles true
Conclusion
I hope you liked my setup. Let me know your feedback. ❤️